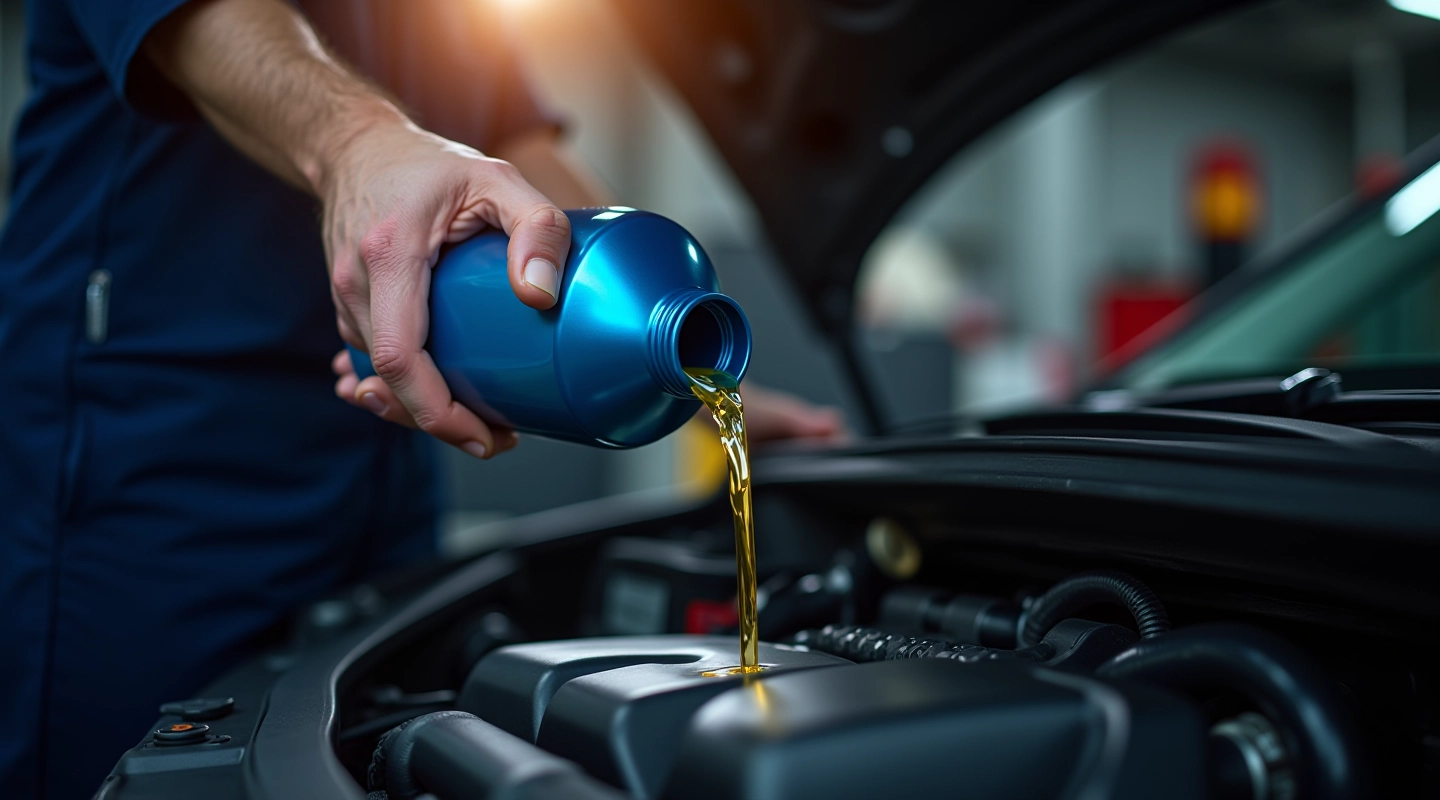
An oil filter replacement is one of the simplest maintenance tasks you can do yourself. It takes about 10-15 minutes once you get the hang of it, and you'll save money compared to having a technician do it. The real key is understanding where your filter sits, what tools you need, and how to avoid the common mistakes that can cause leaks or mess.
What You'll Need Before Starting
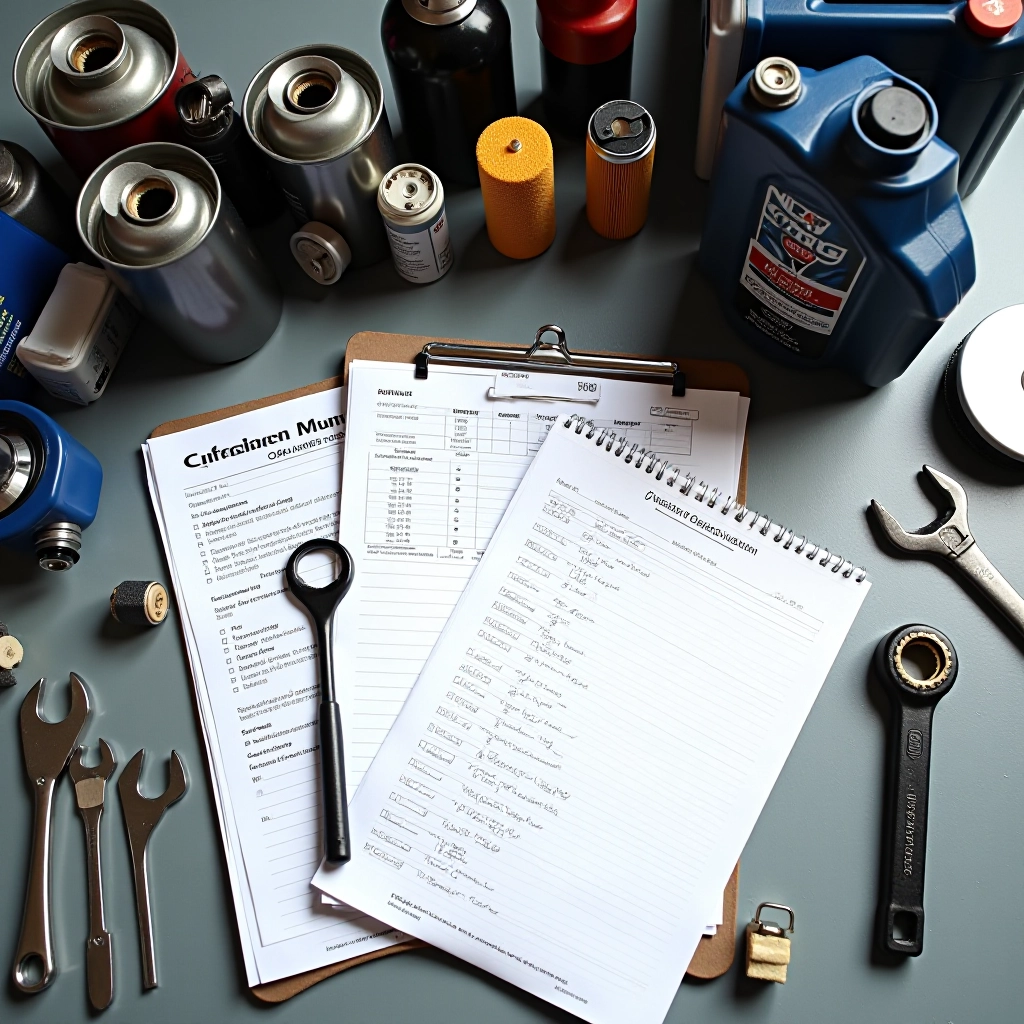
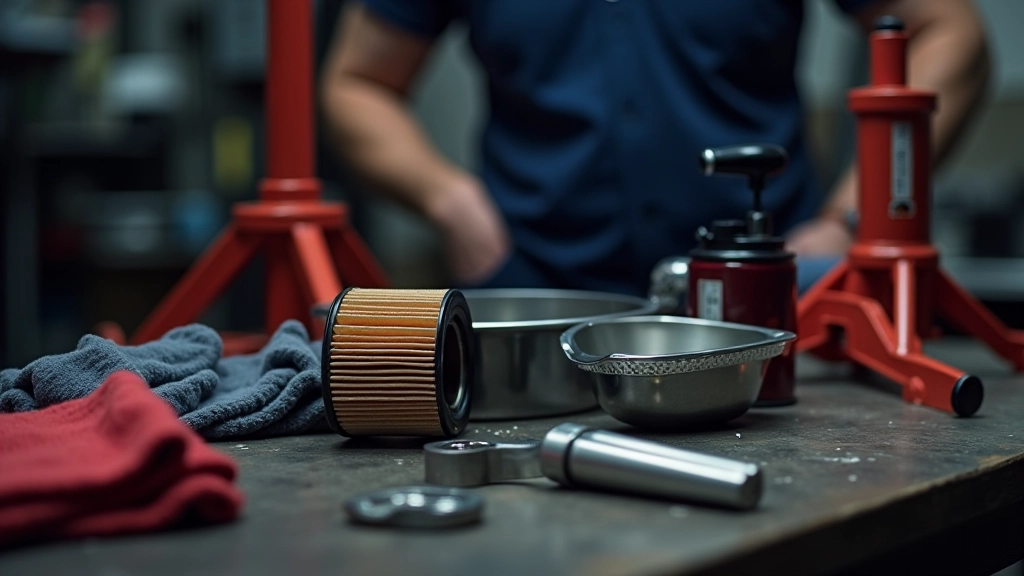
Don't rush into this without gathering your supplies first. You'll want to be organized so you're not hunting around your garage halfway through the job. Here's the essentials: a new oil filter (make sure it's the right one for your vehicle), a filter wrench to loosen the old one, a drain pan to catch any spilled oil, jack stands if you need to lift the car, and some rags or paper towels.
Filter Wrench
Adjustable or cup-style wrench that grips the filter. Most common size is 74mm, but check your manual.
Drain Pan
Catches old oil. A shallow plastic pan works fine. You'll want at least 5-liter capacity for most cars.
New Filter
Get the exact model for your vehicle. Check your owner's manual or ask at an auto parts store. Bring your car's VIN if you're unsure.
Clean Rags
Paper towels or old rags for cleanup. Oil gets messy, so have plenty on hand.
Finding Your Filter Location
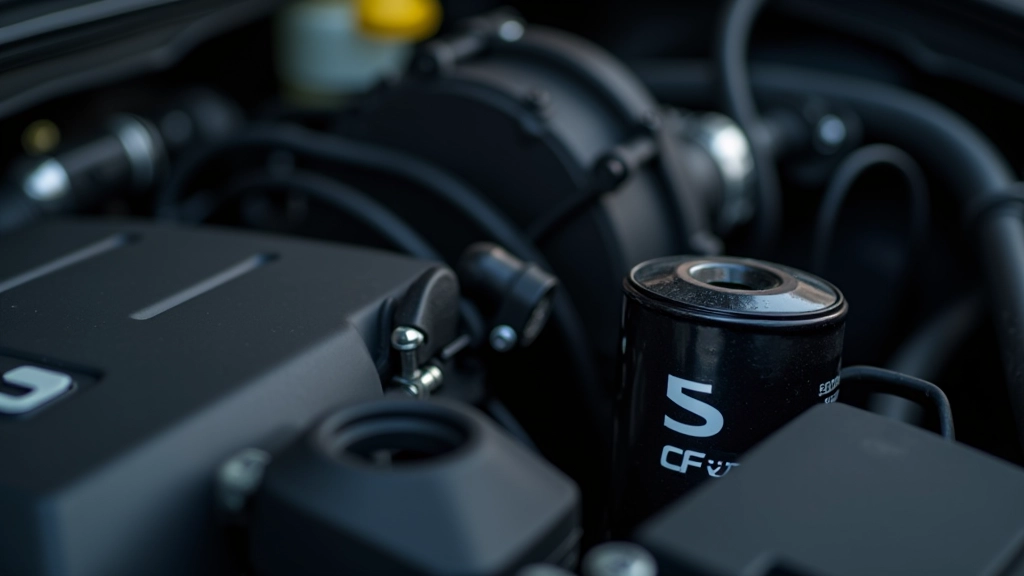
This is where many people get stuck. Oil filters aren't in the same spot on every vehicle. Some are mounted on top of the engine, others on the side, and a few are underneath. Check your owner's manual — it'll show you exactly where yours is. If you don't have the manual, search your vehicle's year, make, and model online. Most manufacturers have PDF versions available for free.
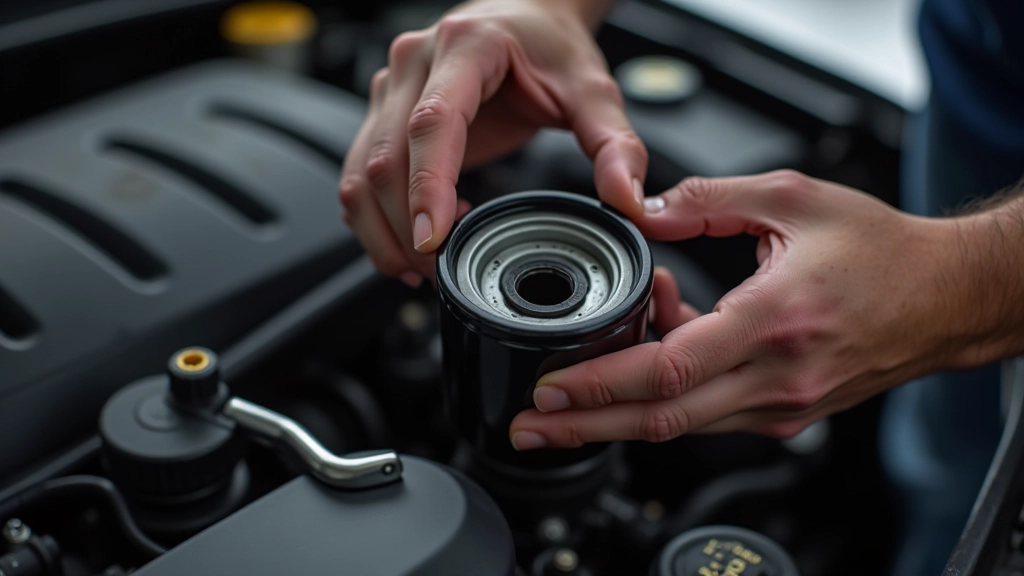
Once you've located it, you'll see it's a cylindrical canister with a rubber seal on the bottom. That rubber seal is crucial because it prevents oil leaks when you remove the old filter. Take a moment to understand how it's mounted — whether it screws on directly to the engine block or sits in a cartridge-style housing. The mounting method affects how you'll remove it and install the new one.
Pro Tip
Mark the filter location with a piece of tape before you start. It sounds simple, but if your engine bay is cramped, you'll appreciate knowing exactly where to look when you're under the hood.
The Removal Process
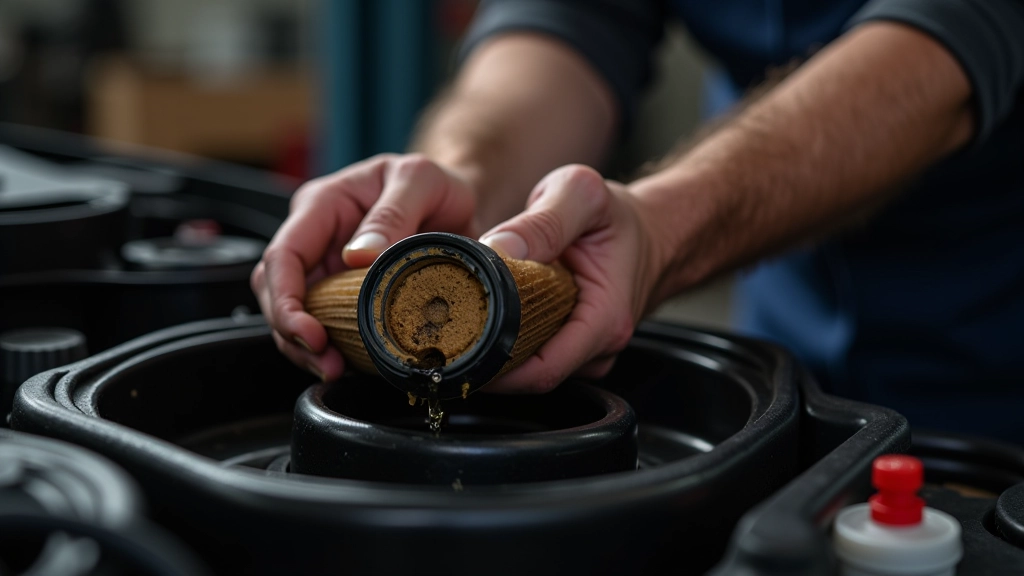
Position your drain pan directly under the filter before you start loosening it. Trust me on this — old oil drips down fast and it'll stain your driveway if you're not ready. Once the pan is in place, use your filter wrench to loosen the filter by turning it counterclockwise. Don't yank it — a steady, firm turn is all you need.
Once it's loose enough to turn by hand, finish unscrewing it manually. It'll be warm and probably has some oil clinging to it, so don't grip it too hard. Let it drain into the pan for a minute or two. You don't want to rush this step because there's usually 200-300ml of old oil still inside the filter.
Position the Drain Pan
Place it directly under the filter. Old oil will drip out as you unscrew the filter.
Loosen with Wrench
Turn counterclockwise. A steady turn is better than forcing it. The wrench should grip firmly around the filter body.
Finish by Hand
Once loose, unscrew it with your fingers. It'll be warm, so be careful. Let it drain into the pan.
Inspect the Seal
Check that the rubber gasket came off with the old filter. If it's stuck to the engine, remove it before installing the new filter.
Installing the New Filter
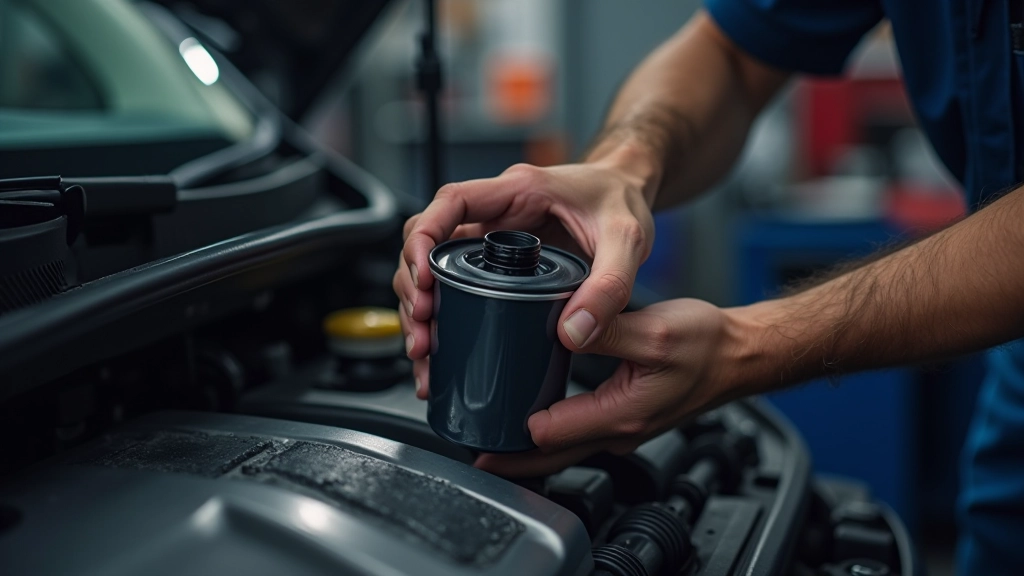
Before you install the new filter, clean the mounting surface on your engine. Use a clean rag to wipe away any old oil or debris. This ensures a good seal and prevents leaks. Then take your new filter and apply a thin layer of fresh oil to the rubber gasket on the bottom. This lubricates the seal and helps it seat properly against the engine block.
Screw the new filter on by hand. It should turn smoothly. When you feel resistance as the gasket contacts the mounting surface, stop and turn an additional three-quarter turn. Don't over-tighten — that's the most common mistake. A tight seal doesn't require force. If you wrench it too hard, you'll damage the gasket and create a leak.
Important
Over-tightening is the leading cause of filter leaks. Hand-tight plus three-quarter turn is the correct amount. If it leaks after installation, you probably tightened it too much.
After Installation
Once the new filter is on, it's time to check your work. Start the engine and let it run for about 30 seconds. This pressurizes the oil system and fills the new filter. Then turn it off and wait a minute. Check underneath the filter for any leaks. If it's dry, you're good. If you see oil dripping, turn off the engine and tighten the filter a bit more — but only a quarter turn at a time.
Check your oil level with the dipstick. It should be at the full mark if you just changed the filter and oil together. If you're only replacing the filter, the level shouldn't change much. Dispose of the old filter properly — most auto parts stores accept them for recycling, and many charge a small core fee that you get back when you drop it off.
"The whole job takes about 15 minutes once you know where the filter is. It's one of the easiest maintenance tasks you can do yourself, and it saves money every single time."
From experienced DIY mechanics